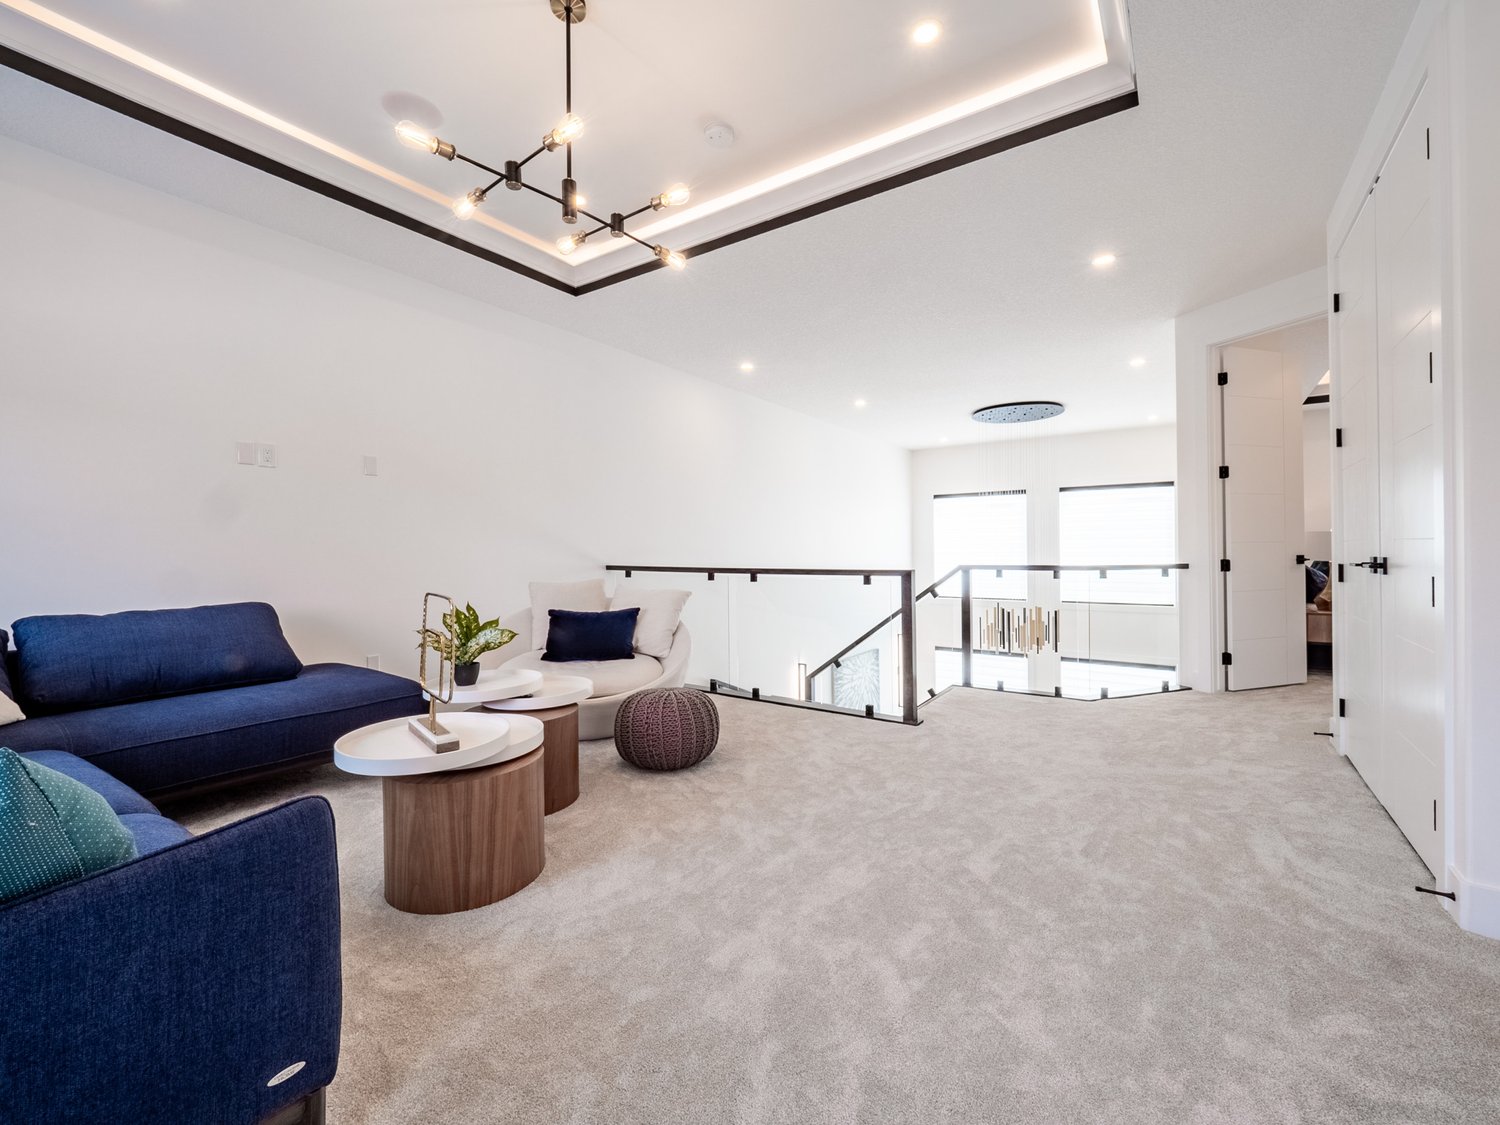
Vinyl flooring has become a popular choice among homeowners for its durability, affordability, and stylish appearance. Whether you're looking to update your kitchen, bathroom, or living area, vinyl flooring offers a versatile and easy-to-maintain option. In this guide, we'll walk you through the step-by-step process of installing vinyl flooring, providing tips for DIY enthusiasts and advice on when to consider professional installation.
1. Gather Your Tools and Materials
Before you begin, ensure you have all the necessary tools and materials. Here's what you'll need:
Vinyl flooring planks or sheets
Tape measure
Utility knife
Straightedge or ruler
Tapping block
Spacers
Underlayment (if required)
Adhesive (for glue-down vinyl)
Roller (for pressing down the vinyl)
2. Prepare the Subfloor
A smooth, clean subfloor is essential for a successful vinyl flooring installation. Follow these steps to prepare:
Clean the Subfloor: Remove any dirt, debris, or old flooring materials.
Repair Any Imperfections: Fill in cracks, holes, or uneven areas with a suitable floor patching compound.
Check for Moisture: Ensure the subfloor is completely dry to prevent future issues.
3. Measure and Plan Your Layout
Proper planning is key to achieving a professional-looking finish:
Measure the Room: Use a tape measure to determine the dimensions of the room. This will help you calculate how much vinyl flooring you'll need.
Plan the Layout: Decide on the direction you want the planks to run. Running planks parallel to the longest wall usually creates a more visually appealing effect.
4. Cut the Vinyl Flooring
With your layout planned, it's time to cut the vinyl flooring to fit:
Measure Twice, Cut Once: Use a tape measure and straightedge to mark where you need to cut. Carefully cut the vinyl with a utility knife.
Leave a Gap: When cutting around obstacles like door frames, leave a small expansion gap (typically 1/4 inch) to allow for natural expansion and contraction.
5. Install the Vinyl Flooring
Now, you're ready to install the vinyl flooring:
Dry Fit First: Lay out the vinyl pieces without adhesive to ensure everything fits perfectly.
Glue-Down Method: If using glue-down vinyl, apply adhesive to the subfloor and carefully press the vinyl into place. Use a roller to remove air bubbles.
Click-Lock Method: For click-lock vinyl, snap the planks together, ensuring the seams are tight. Use spacers to maintain the expansion gap around the room's perimeter.
Trim Edges: Once all the planks are in place, trim any excess material around the edges.
6. Finishing Touches
After installing the vinyl flooring, complete the project with these finishing touches:
Remove Spacers: Once the vinyl is securely in place, remove the spacers from around the room.
Install Baseboards or Molding: Cover the expansion gap with baseboards or molding for a polished look.
Clean the Floor: Wipe down the floor to remove any dust or debris from the installation process.
7. Tips for DIY Enthusiasts
Take Your Time: Rushing through the installation can lead to mistakes. Take your time to measure, cut, and lay the vinyl carefully.
Work in Small Sections: If you're using adhesive, work in small sections to prevent it from drying out before you lay the vinyl.
Watch Out for Patterns: If your vinyl flooring has a pattern, ensure the pieces line up correctly for a seamless look.
8. When to Consider Professional Installation
While installing vinyl flooring can be a rewarding DIY project, there are times when it's best to hire a professional:
Complex Room Layouts: If your room has intricate corners, angles, or obstacles, a professional installer can ensure a flawless finish.
Large Areas: Installing vinyl in large areas requires precision and efficiency. A professional can complete the job more quickly and accurately.
Subfloor Issues: If your subfloor is uneven or damaged, a professional can assess and address these issues before installation.
Conclusion
Installing vinyl flooring is a manageable DIY project that can transform the look of your home. By following this step-by-step guide, you'll be well on your way to achieving a beautiful, long-lasting floor. However, if you encounter challenges or want to ensure a perfect finish, don't hesitate to consider professional installation. At Alberta Carpet Centre, we're here to provide you with top-quality vinyl flooring options and expert advice to help you achieve your dream home.
